Creating a 3-tier architecture High Available, Fault Tolerant and Secure AWS Web Architecture
#10WeeksOfCloudOps
Introduction
A high-availability, fault-tolerant, and secure web architecture is designed to ensure that web applications are always available, reliable, and secure.
To achieve high availability, the architecture employs redundant components and failover mechanisms to ensure that there is no single point of failure in the system. This means that if any component fails, another component takes over immediately, ensuring that the web application continues to function without interruption.
To ensure fault tolerance, the architecture employs various strategies such as load balancing, auto-scaling, and data replication. Load balancing distributes traffic across multiple instances of web servers, ensuring that no single server is overloaded. Auto-scaling automatically adjusts the number of instances based on demand, ensuring that there are always enough resources available to handle traffic spikes. Data replication ensures that data is duplicated and stored in multiple locations, reducing the risk of data loss in case of failure.
To ensure security, the architecture employs various measures such as network security, data encryption, and access controls. Network security involves configuring firewalls and other security measures to protect against unauthorized access. Data encryption ensures that data is encrypted in transit and at rest, making it unreadable to anyone without the appropriate decryption keys. Access controls ensure that only authorized users have access to sensitive data and resources.
Setups to create 3-tier architecture High Available, Fault Tolerant and Secure AWS Web Architecture

Setup 1 :
Go To AWS managment console

Now, Go to AWS VPC Dashboard

Create VPC using the following details

Now select Subnets from the left-hand side menu

Setup 2:
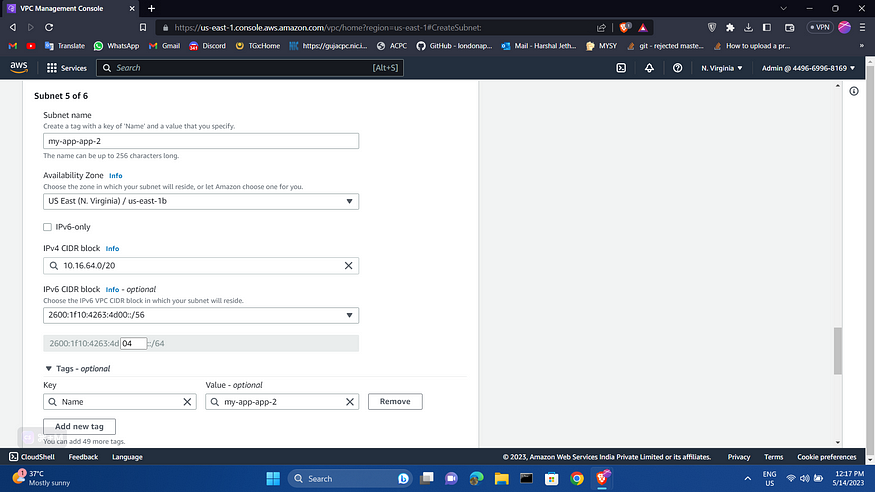
Now, Create the following subnets


And then Enable the IPV6 Auto-assign by selecting every subnets

And then Select all Subnets and enable the DNS Setting


Setup 3:
Create an Internet gateway

Create a Route table for all tiers

Edit the routes table and add the following last two routes

Now, go to the subnets association of public subnet web and attach following

Setup 4
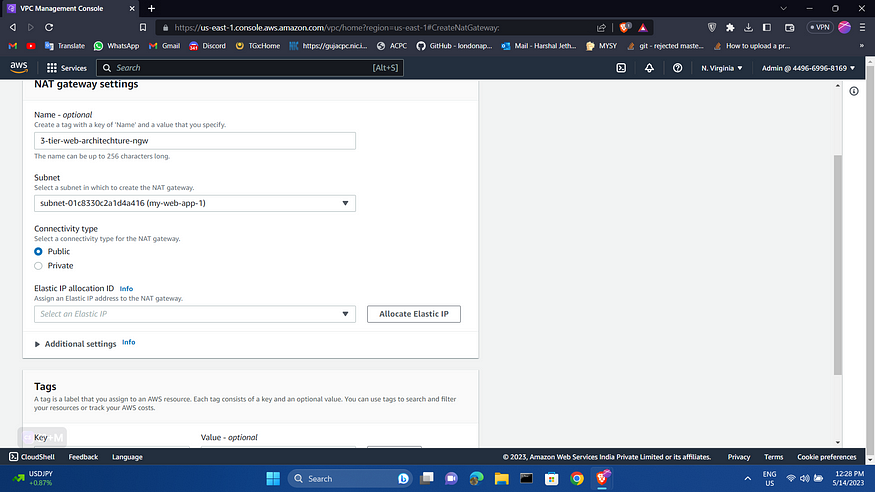
Create a NAT Gateways:

Another NAT Gateway

You will create Three Route Tabel one for the public and another two for the Private

Now attach the App to 3-Tier architecture -1

AND same as 3-Tier architecture private 2 from DB

Now You will see list of these NAT Gateways

Setup 5
Create Key-Pair like show below

Now Create two Launch Template of EC2 Like below

Then, Create AutoScaling Groups like below

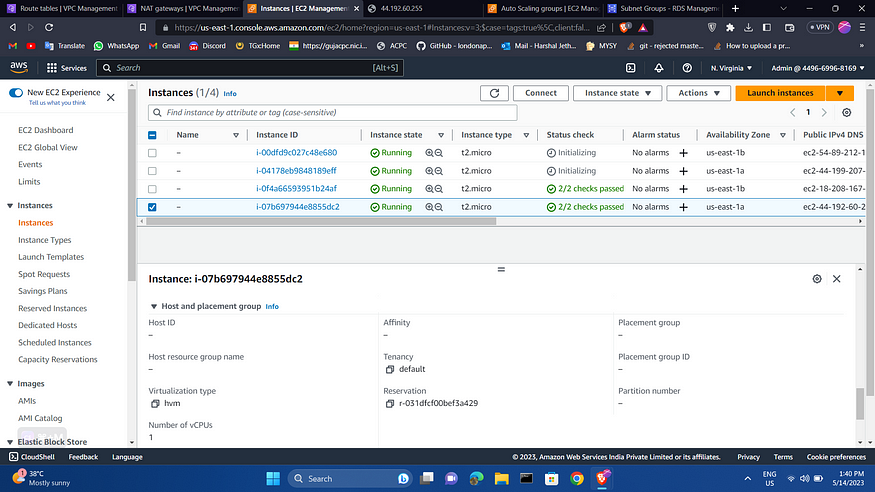
Now you will see the EC2 instance list as below

Now go to Web-architecture-1 and copy the public IP and paste it to the URL you will get as shown below

Setup 6
Now, create the RDS Instance below

And, then create a DB security group as below

This is the list of NAT Gateway we have created

This is the list of Route Tables we have created

Follow me :
Linkedin: https://www.linkedin.com/in/harshaljethwa/
GitHub: https://github.com/HARSHALJETHWA19/
Twitter: https://twitter.com/harshaljethwaa
Thank You!!!
