CI/CD Using AWS
Hi, I'm Harshal Jethwa. A Cloud & DevOps Engineer. I am a 6th Semester student for Bachelor's in Information Technology from CHARUSAT, Changa, Anand.
📚 Currently, I am learning Cloud Computing. I am also an AWS-certified Cloud Practitioner, Microsoft Certified: Azure Fundamentals and currently learning Google-certified Cloud Digital Leader. I also did a 2 monthly internship in cloud Computing from BISAG. There, I did a Web and Cloud Based Project.
Also, I would like to share my learnings & enjoy mentoring folks in the field of cloud. Passionate and keen to learn about new technologies. Enjoying my work by combining my passion and my work together, currently exploring Multi-cloud, DevOps, and Web development domains.
💪🏽 Communication | Leadership | Time Management | Critical Thinking | Public Speaking
Introduction
CI/CD is a software development approach that focuses on automating the process of integrating code changes, testing them, and delivering them to production environments. AWS provides various services and tools that can help facilitate CI/CD pipelines.
Here’s a typical CI/CD workflow using AWS:
- Version Control: Developers use a version control system like Git to manage their codebase. They commit changes to a central repository.
- Build Stage: AWS CodeBuild is a fully managed build service that compiles source code, runs tests, and produces deployable artifacts. You can configure CodeBuild to trigger automatically whenever changes are pushed to the repository.
- Deploy Stage: AWS CodeDeploy is a deployment service that automates the process of deploying applications to various environments, such as EC2 instances, ECS clusters, or Lambda functions. It allows you to define deployment strategies and rollbacks in case of failures.
- Infrastructure as Code: AWS CloudFormation or AWS CDK (Cloud Development Kit) can be used to define infrastructure resources in a declarative manner. This enables version-controlled and automated provisioning of infrastructure as part of the CI/CD pipeline.
- Continuous Delivery: AWS CodePipeline is a fully managed continuous delivery service that helps orchestrate the different stages of your CI/CD pipeline. It integrates with other AWS services and third-party tools, allowing you to customize and automate your pipeline according to your requirements.
Setups to Create Ci/CD using AWS
Setup 1:
Install the below file:https://static.us-east-1.prod.workshops.aws/public/8c4076ba-a416-424d-acc7-06e5cc2de102//static/20-infrastructure/InfrastructureApp.tgz
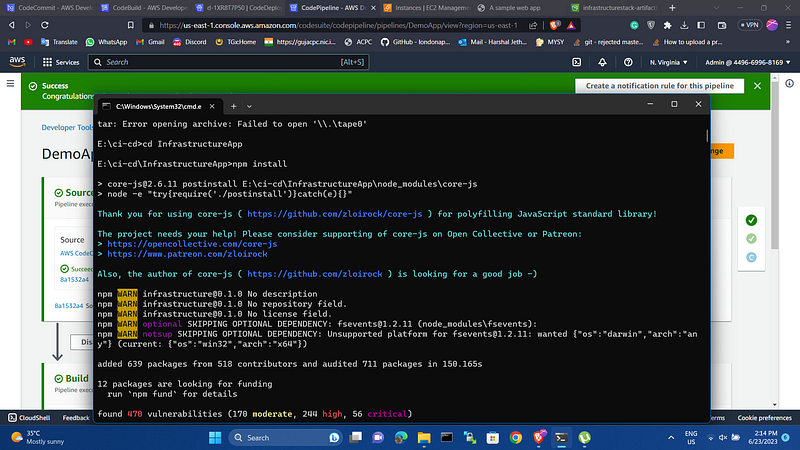
And Navigate into it. Install CDK application dependencies and build the CDK project.
npm install
npm run build
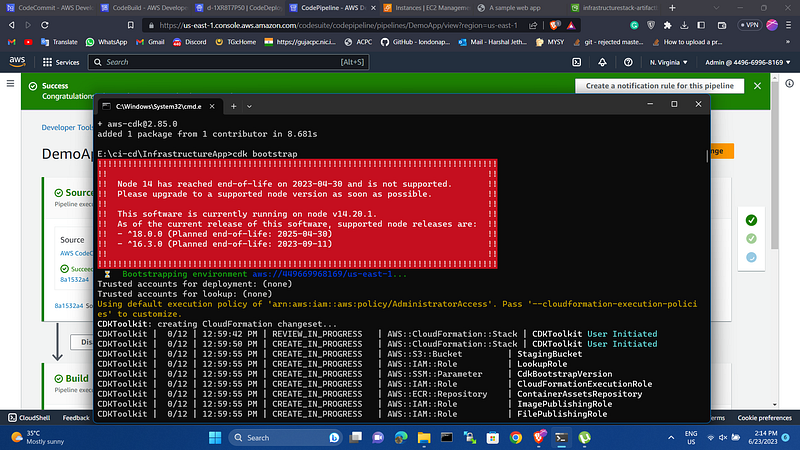
Bootstrap the CDK into your account and region. This is a one-time operation that creates the resources necessary to allow CDK deployments in your AWS account to a given region.
cdk bootstrap
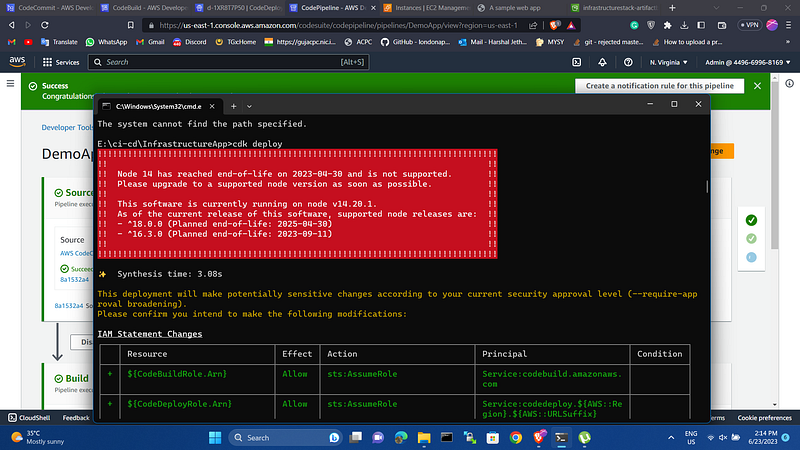
Deploy the CDK application to your account and region.
cd ~/environment/InfrastructureApp
cdk deploy
Step 2:
Create a Git repository using CodeCommit.
- Go to the AWS Management Console, select services then select CodeCommit under Developer Tools
- Select create repository
- Enter
DemoAppin the repository name field - Select Create
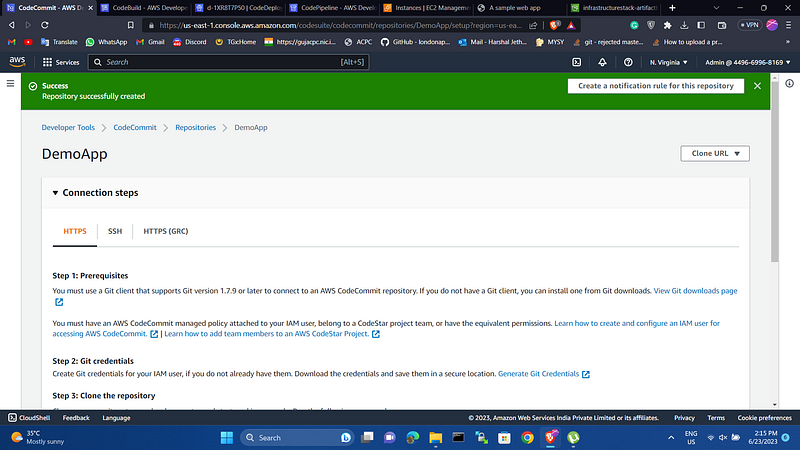
You should see a message at the top of the page that says repository successfully created.
Clone the repository URL by selecting the clone URL button and then selecting clone HTTPS.
Populate your new, empty, repository with the demo Java application.
https://static.us-east-1.prod.workshops.aws/public/8c4076ba-a416-424d-acc7-06e5cc2de102//static/30-source/DemoApp.tgz | tar -xzv
cd DemoApp
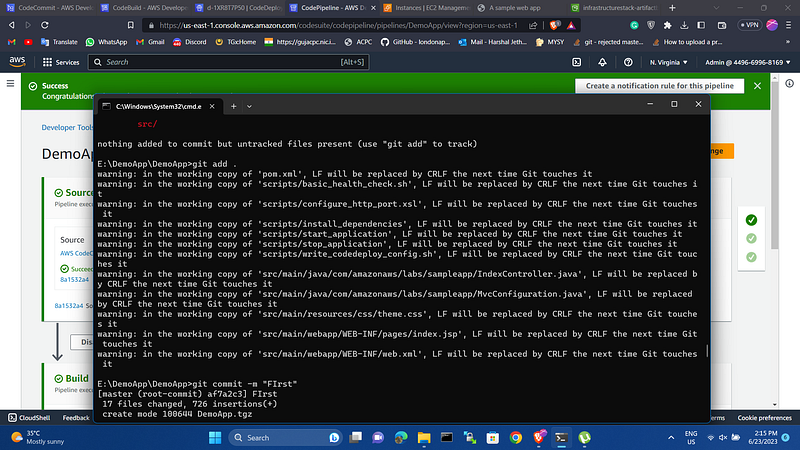
Commit your changes to the local Git repository and push your changes to the CodeCommit-hosted repository.
git add .
git commit -m "Initial commit"
git push
Setup 3:
Create Build Project
Create a build project using CodeBuild.
Go to the AWS Management Console, select services then select CodeBuild under Developer Tools
- Select create build project
In the Project Configuration panel:
- Enter
DemoAppin the project name field
In the Source panel:
- Make sure source provider is AWS CodeCommit
- Select DemoApp in the repository field
- Make sure reference type is branch
- Select master in the branch field
In the Environment panel:
- Make sure environment image is managed image
- Select Ubuntu in the operating system field
- Select standard in the runtime(s) field
- Select aws/codebuild/standard:4.0 in the image field
- Make sure image version is always use the latest image for this runtime version
- Make sure environment type is Linux
- Do not select the checkbox beside the privileged label
- Select existing service role in the service role field
- Select the role created by your InfrastructureStack in the role ARN field. You will find the role ARN in the output of the CDK application deployment with the key InfrastructureStack.BuildRoleArn.
- Make sure allow AWS CodeBuild to modify this service role so it can be used with this build project is checked
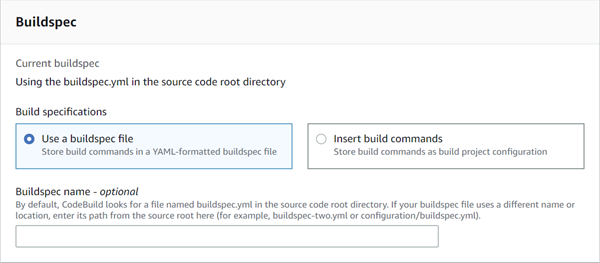
In the Buildspec panel:
- Make sure the build specifications is use a buildspec file
In the Artifacts panel:
- Select Amazon S3 in the type field
- Select the S3 bucket created by your InfrastructureStack in the bucket name field. You will find the bucket name in the output of the CDK application deployment with the key InfrastructureStack.BucketName
- Enter
WebAppOutputArtifact.zipin the name field - Select zip in the artifacts packaging field
Do not change the defaults in the Logs panel.
Select create build project
Create file name buildspec.yml and paste below code and commit and push to repo
version: 0.2
phases:
install:
runtime-versions:
java: corretto8
build:
commands:
- mvn install
artifacts:
files:
- target/javawebdemo.war
- appspec.yml
- scripts/**/*
discard-paths: no
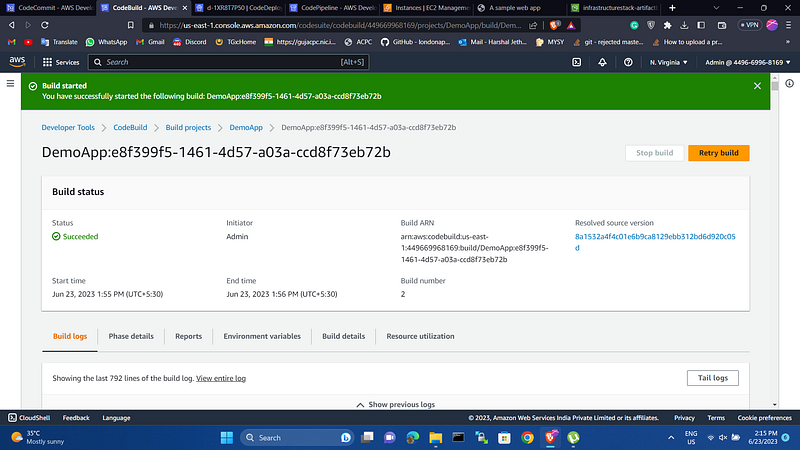
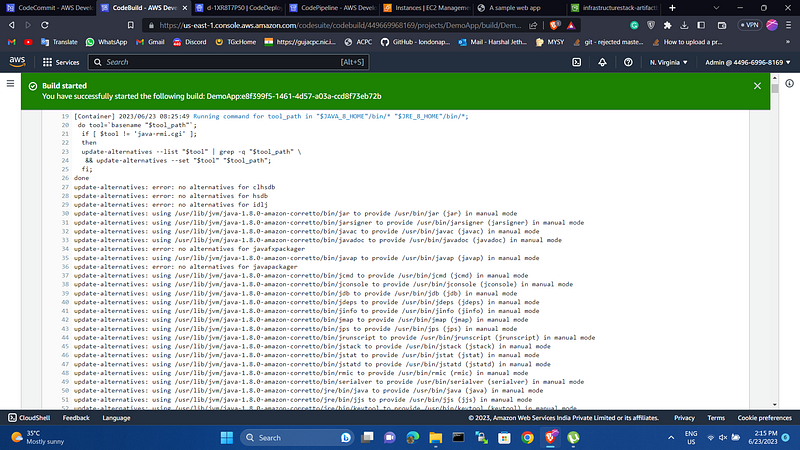
Verify your build project and specification by initiating a build using the CodeBuild console.
- Go to the AWS Management Console, select services then select CodeBuild under Developer Tools
- Select your DemoApp build project
- Select start build
- Review the default options and select start build
- Verify that the status proceeds from in progress to succeeded
Setup 4:
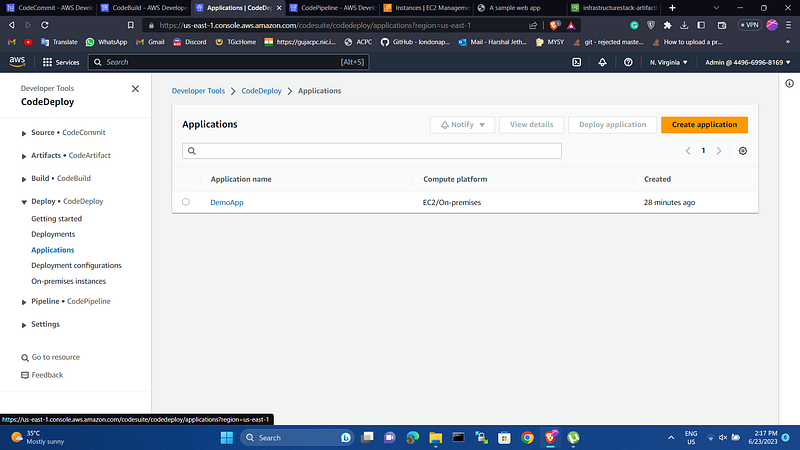
Create an application and deployment group using CodeDeploy.
- Go to the AWS Management Console, select services then select CodeDeploy under Developer Tools
- Select create application
In the Application Configuration panel:
- Enter
DemoAppin the application name field - Select EC2/on-premises in the compute platform field
- Select create application
- Go to the AWS Management Console, select services then select CodeDeploy under Developer Tools
- Select applications
- Select DemoApp
- Select create deployment group
In the Deployment Group Name panel:
- Enter
Developmentin the deployment group name field
In the Service Role panel:
- Select the role created by your InfrastructureStack in the service role field. You will find the role ARN in the output of the CDK application deployment with the key InfrastructureStack.DeployRoleArn.
In the Deployment Type panel:
- Select in place
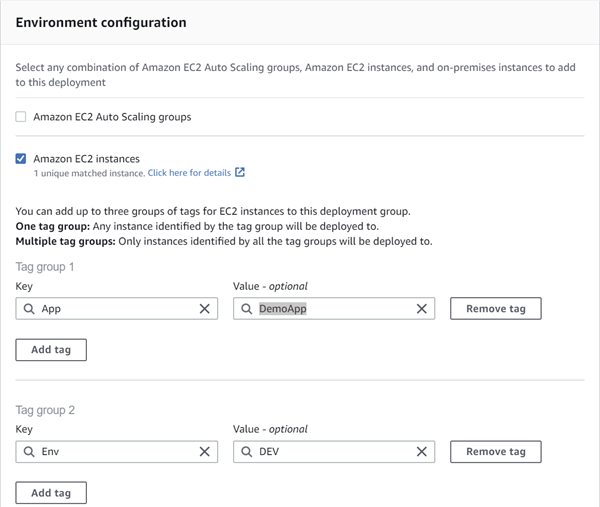
In the Environment Configuration panel:
- Select Amazon EC2 instances
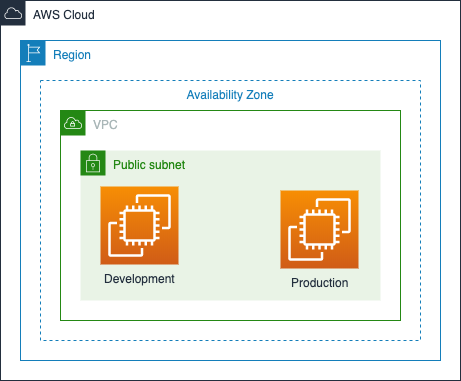
- In tag group 1 enter
Appas the key andDemoAppas the value - Add a tag group
- In tag group 2 enter
Envas the key andDEVas the value
In the Deployment Settings panel:
- Leave the default deployment configuration as CodeDeployDefault.AllAtOnce
In the Load Balancer panel:
- Uncheck the enable load balancing checkbox
Select create deployment group.
Create file name appspec.yml and paste below code and commit and push to repo
version: 0.0
os: linux
files:
- source: /target/javawebdemo.war
destination: /tmp/codedeploy-deployment-staging-area/
- source: /scripts/configure_http_port.xsl
destination: /tmp/codedeploy-deployment-staging-area/
hooks:
ApplicationStop:
- location: scripts/stop_application
timeout: 300
BeforeInstall:
- location: scripts/install_dependencies
timeout: 300
ApplicationStart:
- location: scripts/write_codedeploy_config.sh
- location: scripts/start_application
timeout: 300
ValidateService:
- location: scripts/basic_health_check.sh
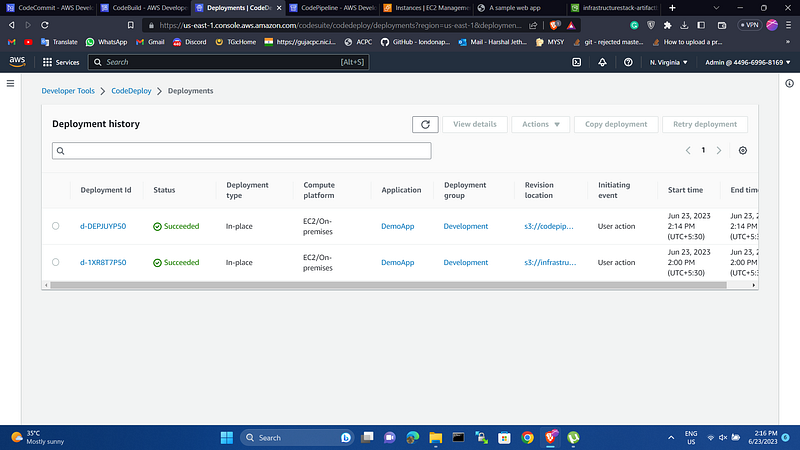
Trigger a new build of your application so that the deployment artifact stored in S3 will contain your appspec.yml file when you are ready to test your deploy.
- Go to the AWS Management Console, select services then select CodeBuild under Developer Tools
- Select your DemoApp build project
- Select start build
- Review the default options and select start build
- Verify that the status proceeds from in progress to succeeded
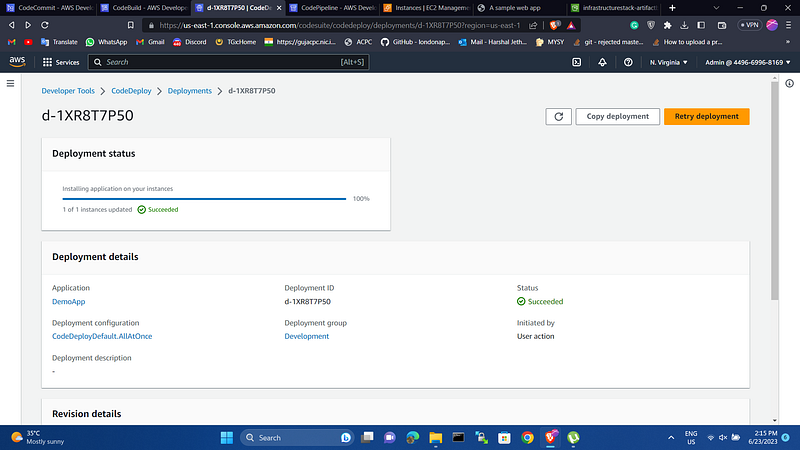
Verify your application and specification by initiating a deployment using the CodeDeploy console.
- Go to the AWS Management Console, select services then select CodeDeploy under Developer Tools
- Select applications, then select DemoApp application, then select your development deployment group
- Select create deployment
In the Deployment Settings panel:
- Enter
s3://<your bucket name>/WebAppOutputArtifact.zipin the revision location field. You will find your bucket name in the output of the CDK application deployment
Review the remaining default options and select create deployment.
Verify that the status proceeds from in progress to succeeded
Verify your deployment by loading the web application in your browser with the associated EC2 Instance IP address.
Setup 5:
Create a pipeline using CodePipeline.
- Go to the AWS Management Console, select services then select CodePipeline under Developer Tools
- Select create pipeline
In the Pipeline Settings panel:
- Enter
DemoAppin the pipeline name field - Select new service role in the service role field
- Do not change the role name
- Ensure allow AWS CodePipeline to create a service role so it can be used with this new pipeline is checked
- Select next
In the Source panel:
- Select AWS CodeCommit in the source provider field
- Select DemoApp in the repository name field
- Select master in the branch name field
- Ensure Amazon CloudWatch Events is selected in the change detection options field
- Select next
In the Build panel:
- Select AWS CodeBuild in the build provider field
- Do not change the region selection
- Select DemoApp in the project name field
- Select next
In the Deploy panel:
- Select AWS CodeDeploy in the deploy provider field
- Do not change the region selection
- Select DemoApp in the application name field
- Enter Development in the deployment group field
- Select next
Review your entries and select create pipeline.
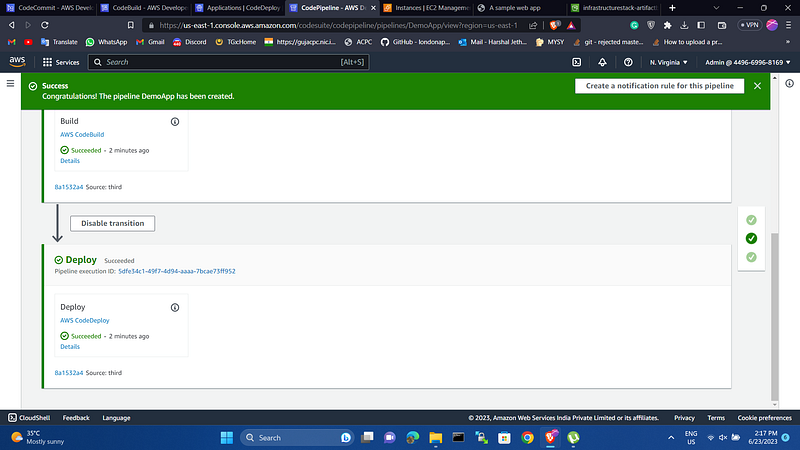
Your pipeline will begin executing and, after several minutes, you should see each stage succeed.
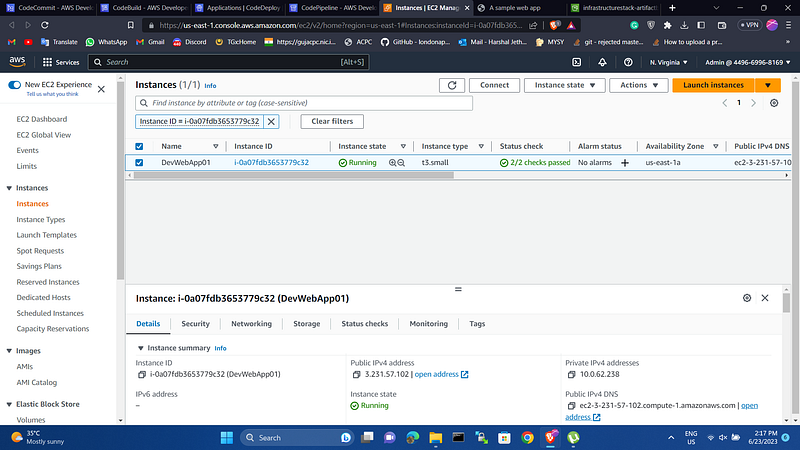
Verify your deployment by loading the web application in your browser. You will find your development server location in the output of the CDK application deployment
Please do remember to Destroy your Resources !!!!
Follow me :
Linkedin: https://www.linkedin.com/in/harshaljethwa/
GitHub: https://github.com/HARSHALJETHWA19/
Twitter: https://twitter.com/harshaljethwaa
Hashnode: https://harshaljethwa.hashnode.dev/
Thank You!!!